So you’ve started a new Minecraft world. You’re standing in a vast, blocky world with nothing but your fists and a dream. Then you hear it: the sun is setting. The moans of the undead start echoing across the plains. Panic sets in.
We’ve all been there.
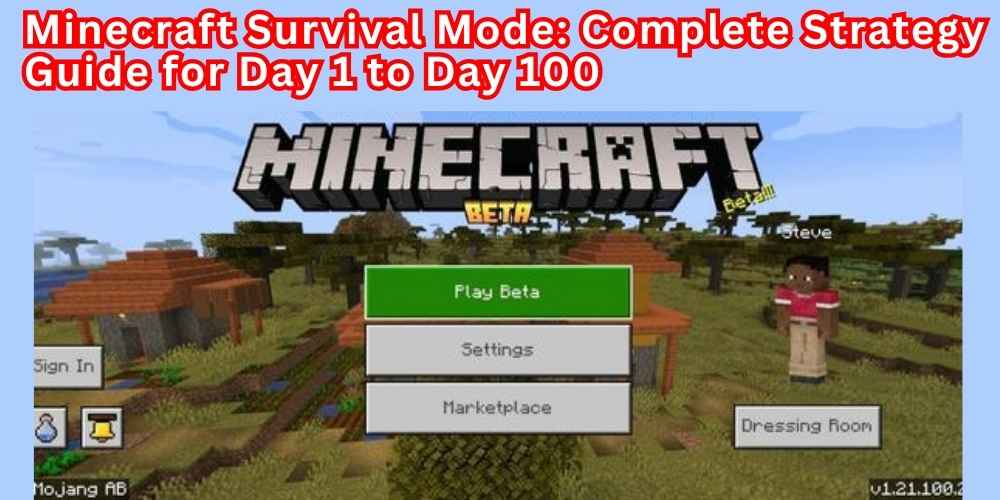
Survival Mode in Minecraft can feel overwhelming, especially if you’re new. But here’s the secret: it’s not about being the fastest or the strongest. It’s about having a plan. This guide will walk you through the first 100 days step by step. We’ll cover everything from punching your first tree to defeating the Ender Dragon and beyond. No fancy jargon, just simple, clear steps that anyone can follow.
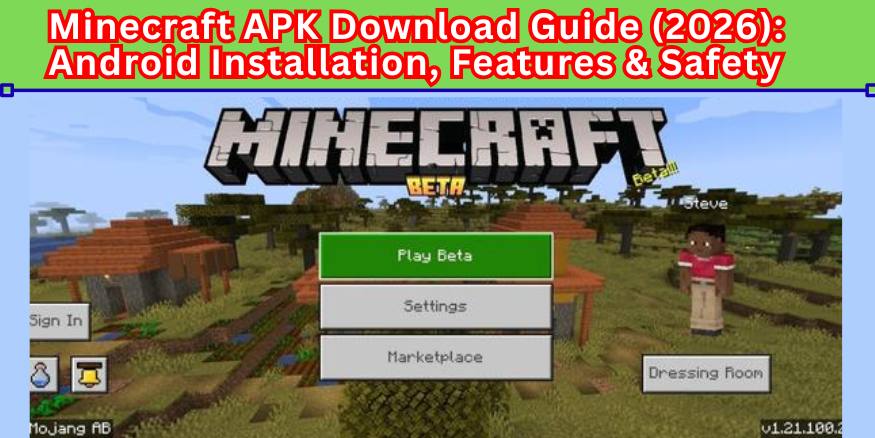
If you love to play Minecraft on mobile : Download Here and enjoy it live on your mobile.
Let’s get started on your journey from a scared newbie to a true Minecraft master.
Part 1: The First Day (Minutes 0-20)
The first day in Minecraft lasts only 20 real-time minutes . That’s not a lot of time, but it’s enough to set yourself up for success. Your goal on Day 1 is simple: get wood, get stone, get safe.
Step 1: Punch a Tree
Your first task is to find a tree. Walk up to it, hold down your left mouse button (or tap and hold on mobile), and punch it until the wood block breaks. Pick up the wood block that drops.
- Goal: Collect at least 6 to 8 wood blocks from the nearest trees.
- Pro tip: Oak trees are best because they sometimes drop apples, which give you a little food to start .
Step 2: Make Tools
Open your inventory (press E on keyboard). Put one wood block in the 2×2 crafting grid to turn it into 4 wooden planks. Take those planks and fill all four slots of the crafting grid to make a Crafting Table.
Place your Crafting Table on the ground and right-click it. Now you can make real tools.
- Make Sticks: Use 2 wooden planks stacked vertically to make 4 sticks.
- Make a Wooden Pickaxe: Arrange 3 planks across the top row and 2 sticks down the middle.
- Make a Wooden Sword and Axe: The sword is for protection; the axe chops trees faster.
Step 3: Get Stone
Now you need to upgrade from wood to stone. Find some exposed stone on the side of a mountain or dig down a little through the dirt until you hit grey stone. Use your new wooden pickaxe to mine at least 20 cobblestone blocks.
Once you have stone, go back to your crafting table and make:
- Stone Pickaxe (this will be your main tool)
- Stone Sword (much stronger than wood)
- Stone Axe
- Furnace (using 8 cobblestone blocks)
Step 4: Find Food and a Shelter Spot
As you’re gathering stone, keep your eyes open for animals. Kill a few pigs, cows, or chickens to get raw meat. You’ll cook this later.
Also, look around for a good place to spend the night. A small hill is perfect because you can dig into it. If you find a village, you’re in luck—you can use one of the houses as your first base .
Step 5: Build Your First Shelter
The sun is setting. It’s time to build. You have two options:
- Dig into a hill: Make a tunnel about 4-5 blocks deep, then carve out a small 3×3 room.
- Build a dirt hut: If no hill is around, just place dirt blocks to make a tiny box big enough for you and your crafting table.
Close the entrance with a door or even just a block of dirt. Place your crafting table and furnace inside. If you found coal, make torches and light the place up. If you didn’t find coal, you can put wood in the furnace to make charcoal, which works just like coal .
Congratulations! You survived your first night.
Part 2: The First Week (Days 2-7)
Now that you’re alive, it’s time to start building your future. The first week is about getting the essentials: better gear, a real base, and a steady food supply.
Day 2: Find Iron
Iron is the most important resource in the early game. You need it for better tools, armor, and a shield.
- Go Caving: Find a cave entrance near your base. Bring torches, food, and your stone tools.
- Mine Smart: Light up the cave as you go to stop monsters from spawning behind you. A good trick is to place torches only on the right wall. That way, when you want to leave, you just follow the torches on your left .
- What to Look For: Iron ore looks like stone with beige-ish spots. You’ll need to smelt it in a furnace with coal to get iron ingots.
Your first iron ingot should be used to make a shield . A shield will block arrows from skeletons and even reduce damage from a creeper explosion. This single item will save your life more times than you can count.
Day 3-4: Build a Real Base
That dirt hut or cave hole isn’t going to cut it forever. Find a nice, flat spot and start building a proper house.
Your base should have:
- Walls and a roof: Made from wood, stone, or whatever you have a lot of.
- Lots of light: Put torches everywhere—inside and outside. If the light level is too low (you can check with the F3 screen on Java), monsters can spawn right in your living room .
- Storage Room: Make at least 10 chests and organize them. One for wood, one for stone, one for food, etc. Trust me, you’ll thank yourself later.
- A Bed: If you haven’t already, kill three sheep to get wool and make a bed. Sleeping in a bed sets your spawn point. If you die, you’ll come back to your base instead of the middle of nowhere .
Day 5-7: Start Farming
Running around hunting animals for food is risky and time-consuming. It’s time to farm.
- Crop Farm: Find a water source. Use a hoe on dirt or grass next to the water (within 4 blocks). Plant wheat seeds (from breaking grass), carrots, or potatoes (from villages or zombies).
- Animal Farm: Fence in a small area with a gate. Lure cows, sheep, or chickens inside using wheat, carrots, or seeds. Breed them by feeding two animals the same food. Now you have a permanent source of food and materials.
Part 3: The First Month (Days 8-30)
You have a base and food. Now it’s time to get powerful. This is where you upgrade from stone to iron and start thinking about enchantments.
Go Mining for Diamonds
Diamonds are the top-tier material in the early game. They make the best tools and armor (before Netherite).
- Where to Go: Diamonds are found deep underground. The best level is around Y level -59 or -53 (you can see your coordinates on the F3 screen) .
- Mining Method: Never dig straight down. Instead, use a staircase method: dig one block forward, one block down, repeat. Once you reach the diamond level, mine out in a straight line, leaving 2 blocks between each new tunnel (this is called strip mining or branch mining). You cover a lot of ground without wasting effort.
- Watch for Lava: Diamonds often spawn near lava pools. Always carry a water bucket with you. If you find lava, you can pour water on it to turn it into obsidian .
Gear Up in Full Iron
While you’re mining, you’ll find lots of iron. Smelt it all and make:
- Full Iron Armor (helmet, chestplate, leggings, boots)
- Iron Sword, Pickaxe, Axe, and Shovel
- Water Bucket (for climbing, breaking falls, and dealing with lava)
Visit a Village and Start Trading
Villages are amazing. They give you access to trades that can get you enchanted books and diamond gear without having to find them yourself .
- Find a Village: If you haven’t found one yet, explore. They’re easier to find in plains and deserts.
- Identify the Villagers:
- Librarians: They sell enchanted books. This is your ticket to top-tier enchantments. Place a lectern (crafted from slabs and a bookshelf) next to a jobless villager to make them a librarian. Break and replace the lectern until they offer a book you want (like Mending or Protection) .
- Farmers: They buy your crops for emeralds and sell golden carrots (one of the best foods in the game).
- Armorers, Toolsmiths, Weaponsmiths: They sell diamond gear.
- Get Mending: The Mending enchantment is a game-changer. It repairs your tools and armor using experience orbs. You can get a Mending book from a librarian. It’s expensive but worth every emerald.
Build an Enchanting Setup
Enchanting makes your gear much stronger. To get the best enchantments (level 30), you need to build an enchanting table and surround it with 15 bookshelves .
- Enchanting Table: Craft with 2 diamonds, 4 obsidian, and 1 book.
- Bookshelves: Place them one block away from the enchanting table. You’ll need 15.
- Enchant: Now you can put your diamond tools on the table and get amazing upgrades like Efficiency IV, Unbreaking III, or Fortune III. Fortune is great for mining—it gives you more diamonds per ore block.
Part 4: The Mid-Game (Days 31-70)
You’re fully geared in enchanted diamond armor. You have a base, food, and villagers. Now it’s time to take on bigger challenges.
Enter the Nether
The Nether is a hellish dimension full of fire, lava, and dangerous mobs. But it’s also where you get the materials to beat the game.
- Build the Portal: You need 10 obsidian blocks. Build a frame that’s 4 blocks wide and 5 blocks tall (ignore the corners). Light it with flint and steel.
- Prepare: Before you go in, make sure you have:
- One piece of gold armor (gold boots work). This stops Piglin mobs from attacking you on sight .
- Fire Resistance Potion (if you have one) or just a bucket of water (it works in the Nether!).
- A bow and arrows.
- Building blocks (like cobblestone) because Ghasts can destroy netherrack.
- Your Goals in the Nether:
- Find a Nether Fortress: These are large structures made of dark red bricks. Inside, you’ll find Blaze spawners.
- Kill Blazes: Blazes drop blaze rods. You need these to make eyes of ender.
- Find Nether Wart: This looks like a red fungus growing on soul sand in the fortress. You need it to brew potions.
Start Brewing Potions
Potions give you powerful buffs that make difficult tasks much easier .
- Basics: You’ll need a brewing stand (crafted with a blaze rod and cobblestone). Put blaze powder in the fuel slot. Use Nether Wart to make awkward potions, then add other ingredients.
- Essential Potions:
- Fire Resistance: Makes you immune to fire and lava. A must for the Nether.
- Strength: Increases your melee damage.
- Healing: Instant health.
- Slow Falling: Prevents fall damage. This is crucial for the next step.
Locate the Stronghold
Now that you have blaze rods, combine them with ender pearls to make Eyes of Ender.
- Use the Eyes: Throw an Eye of Ender by right-clicking. It will float in the direction of the Stronghold (the structure containing the End Portal). It may break, so bring plenty .
- Follow the Trail: Keep throwing them until they start going straight down. That’s where you dig.
- Explore the Stronghold: The Stronghold is a maze of stone bricks and libraries. There are silverfish spawners, so be careful. Find the portal room with the empty End Portal frame.
Gear Up for the Ender Dragon
You’re almost ready for the final boss. But you need to prepare .
- Get Your Best Gear: You should have full enchanted diamond armor (Protection IV is best), a diamond sword (Sharpness IV or V), a bow (Power IV or V, Infinity if you can), and a water bucket.
- Stock Up:
- Food: Golden carrots or steak.
- Potions: Slow Falling (very important), Strength, Healing.
- Blocks: 2-3 stacks of cobblestone or other cheap blocks.
- Ender Pearls: For emergencies.
- Fill the Portal: Place the Eyes of Ender in all 12 slots of the portal frame.
Part 5: The End-Game (Days 71-100)
It’s time. You’ve built your base, gathered your resources, and prepared your gear. Now you take on the final challenges Minecraft has to offer.
Defeat the Ender Dragon
Jump into the portal. You’re in The End. Don’t panic .
- Step 1: Destroy the Crystals. The Ender Dragon heals from the crystals on top of the obsidian pillars. Use your bow to shoot them all. Be careful—they explode when destroyed.
- Step 2: Wait for the Perch. After the crystals are gone, the dragon will eventually fly to the center and perch on top of the exit portal. This is your chance to attack. Run in and hit it with your sword. Use Strength potions to maximize damage.
- Step 3: Avoid the Breath. The dragon shoots purple clouds called dragon’s breath. Stay out of them. If the dragon flies away, shoot it with your bow.
- Step 4: Collect Your Reward. When the dragon dies, it drops a ton of experience orbs and activates the exit portal. A Dragon Egg will appear on the bedrock pillar. You can collect it later by placing a torch under it.
Explore End Cities
After defeating the dragon, a small portal appears called an End Gateway. Throw an ender pearl into it to travel to the outer End islands.
- What to Look For: Explore until you find an End City. These are huge structures made of purpur blocks.
- Shulkers: These mobs hide in shells and shoot projectiles that make you levitate. They’re annoying, but they drop shulker shells. Combine a shell with a chest to make a shulker box—a portable chest that keeps its items even when broken. This is the best storage item in the game.
- The End Ship: Sometimes an End City has a floating ship nearby. On that ship, you’ll find the elytra in an item frame . The elytra is a set of wings that lets you glide. Attach fireworks (with a duration star) to fly.
Get Netherite Upgrade
Now that you have diamond gear and you’ve beaten the game, it’s time for the final upgrade: Netherite.
- Go Back to the Nether: You need to go back to the Nether and mine at Y level 15 .
- Find Ancient Debris: This is the rarest ore. It comes in veins of 1-3. Use beds or TNT to blast mine large areas quickly (because ancient debris is blast resistant).
- Upgrade: Smelt the ancient debris into Netherite Scraps. Combine 4 scraps with 4 gold ingots to make a Netherite Ingot. Use a smithing table (crafted with iron and a plank) to upgrade your diamond tools and armor to Netherite. They get better stats and won’t burn in lava.
Part 6: What Comes After Day 100?
You’ve done it. You’ve built a base, survived the Nether, defeated the dragon, and gotten the best gear. So… what now?
Minecraft is a sandbox, and the only limit is your imagination.
If you want to play Minecraft Online : Click Here
Massive Build Projects
- Create a Mega Base: Tear down that first little house and build a castle, a modern mansion, or even an entire village.
- Redstone Machines: Start building automatic farms. A sugar cane farm with observers and pistons, an iron farm using villagers, or a gold farm in the Nether .
- Landscape Your Area: Make your base look beautiful with custom trees, paths, and lighting.
Explore Everything
- Ocean Monuments: Find these underwater temples and conquer them for gold and sponges.
- Woodland Mansions: Find a cartographer villager and buy a map to a woodland mansion. These are huge, dangerous structures filled with illagers.
- Trail Chambers (1.21): Explore the new Trial Chambers, underground structures with new mobs like the Breeze and exciting loot .
Challenge Yourself
- Start a New World on Hardcore Mode: One life. If you die, the world is deleted. It’s the ultimate test of your skills.
- Collect Everything: Make it your goal to collect every single block, item, and mob in the game. Get a beacon, craft a netherite hoe, and find all the music discs.
- Play with Friends: Join a server or start a Realm. Playing with friends changes the whole experience. You can build together, fight together, or even compete in mini-games.
Conclusion
Surviving from Day 1 to Day 100 in Minecraft is a journey. It starts with a simple goal—surviving that first terrifying night—and slowly builds into a grand adventure where you conquer dimensions and build incredible things.
Remember these key lessons:
- Always have a plan. Know what you want to accomplish each day.
- Stay safe. Use shields, light up your area, and never dig straight down.
- Use your resources. Villagers, farms, and automation save you time and effort.
- Don’t be afraid to fail. You will die. You will lose your gear. But every death is a lesson. Learn from it, gear up again, and go back out there.
Minecraft is your world. You can play it however you want. This guide is just a roadmap to get you started. Now, go out there, survive, thrive, and build something amazing.
What are you waiting for? The sun is rising. Adventure awaits.